
A good macaron is really something special. It takes you by surprise--delicate, almost cloud-like, but intensely flavoured beneath its crackly, colourful shell. And, by all counts, such a macaron is not easy to come by--it's a bit of a technical achievement to get that smooth, shiny dome, that pretty, ruffled foot, that satisfying chew. I'm certainly not there yet with my macarons, but making them was something that I had to try and something that I intend to keep working at.
Admittedly, there are perfectly good macarons at the bakery down the street, and if this were all about getting my fill, I could probably just pop in there more often. But this, this is about the challenge. I'm learning to master something, bit by bit. Whipping egg whites to stiff peaks by hand? No problem. Folding ground almonds and sugar into those egg whites? Sure thing. Piping perfect macaron shells? Well, I'm still working on that one. Every new batch has come out just that much better than the last. I like seeing the improvement right on the half-sheet. It feels good to be working towards something tangible.
So, don't be deterred by the technical demands because that's all they are--demands that can be met with a bit of patience and practice. What's more, once you've gotten a handle on the basics, there isn't much to limit you. Stick to standard flavours like pistachio, lemon, and chocolate, or dream up your own (take, for instance, Pierre Herme's ketchup macarons).
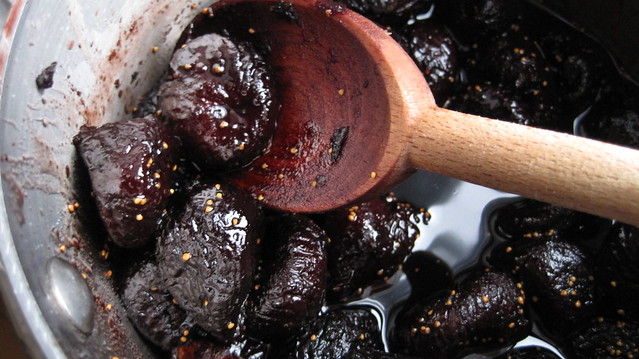
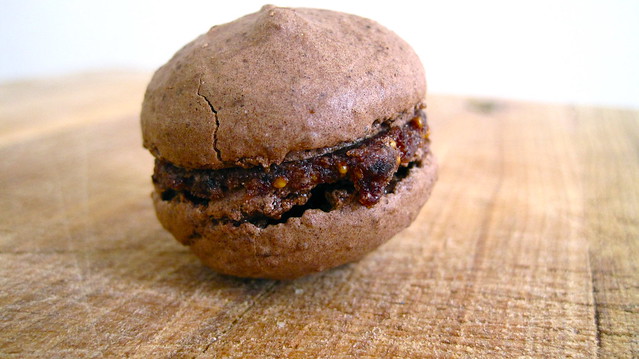
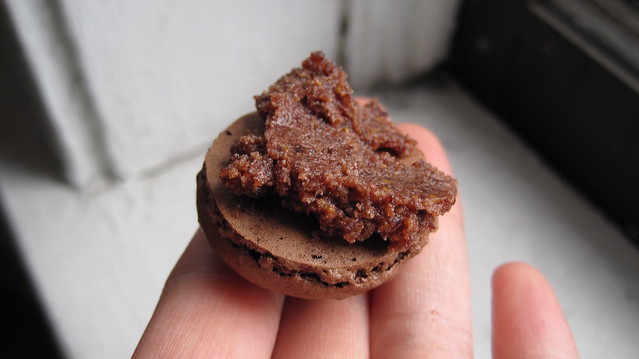
Chocolate and Fig-Butter Macarons: my first success was variation on David Lebovitz's French chocolate macarons--I stuck with his lovely chocolate shells but decided that Kim Boyce's spectacular fig butter (find the recipe at 101 Cookbooks) would be the way to go for filling. The result? Rich, dark, and fruity macarons with that little bit of sophistication that port- and red-wine-poached figs lend. And, just in case you were wondering, there was plenty of leftover fig butter for morning toast and the occasional spoonful straight from the fridge.
As I've said, my macarons still need a little work--especially when it comes to piping. I can, however, leave you with a few tips that I've found helpful to get you started (see also Tartelette and Not So Humble Pie for some more sound macaron-related advice):
Equipment
- a medium bowl for beating egg whites--glass or ceramic will do just fine but copper is best (see below, "Beating Egg Whites")
- a metal whisk
- a rubber or silicone spatula--the wider, the better for folding
- at least two-heavy duty half-sheets--stack these together for more even heat distribution and bake only one half-sheet's worth at a time--your risk cracking your macarons otherwise
- parchment paper
- a pastry bag
- a plain, round piping tip, 6-8 mm in diameter (I have an Ateco #12)
- a food processor, preferably--David Lebovitz says that the powdered almonds you get at the store aren't quite fine enough and recommends pulverizing them with your powdered sugar so that your macaron shells don't come out grainy. I don't think my local grocery store even sells powdered almonds, but it's easy enough to make your own (see below, "Almonds").
Beating Egg Whites
- If you Google something like "beating egg whites by hand," you'll likely be advised not to try it unless you have a copper bowl. Don't listen to that! With just a glass bowl, a metal whisk, a bit of determination, and the right technique, you can get lovely stiff and glossy peaks. I'm not sure how much of a difference copper makes (egg whites react with copper chemically, resulting in more voluminous and stable whites),
but I'll be able to tell you in a few days. I just splurged on a Mauviel bowl--it was a steal on EBay--and can't wait to try it out.Update, 2012-02-12. Having made more than my share of soufflés in the past year, I can tell you that if beating egg whites by hand is your thing, a good copper bowl is certainly the vessel to beat them in. The copper gives you good volume and prevents you from beating them dry. Just make sure that you have a good whisk too. I wasn't all that impressed with my copper bowl until my old whisk broke and I got a replacement. Turns out that my old whisk was just extraordinarily bad for beating egg whites. - Start with an impeccably clean glass, ceramic, or copper bowl. Any fatty residue will impede the development of the whites.
- Always start with room-temperature whites--they'll develop peaks much more easily. Aging your whites--that is, separating them from the yolks and leaving them in the fridge covered for a day or more--is also supposed to help with peaks. I haven't stuck to this advice consistently, but I have been using the oldest eggs lying around in my fridge.
- Another couple of things can help your egg whites along and keep them stable once they've formed peaks: (i) a pinch of salt added to your egg whites before you begin beating and (ii) just a touch of something acidic just as your peaks take shape--cream of tartar, lemon juice, or white vinegar.
- Start slow with your whites, letting them lose their elasticity until they get greyish and foamy. Then you can pick up speed.
- Once you start, don't stop. Your arm will get tired, trust me. Just switch to your non-dominant hand to give the other a break when you need it. Or, have a friend on stand-by in the kitchen.
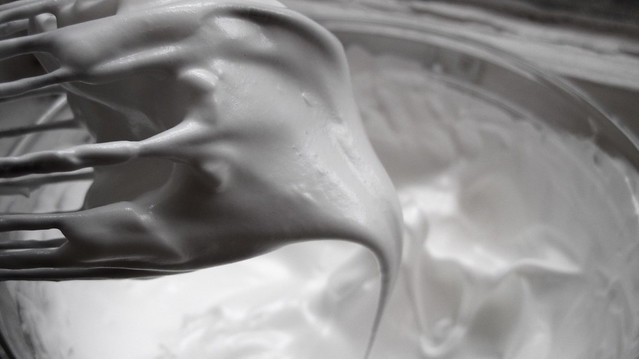
- What you're looking to achieve is a thick, glossy mass of egg whites--when you take your whisk out of the bowl and raise it in the air, the whites at its tip should almost stand on end. I stop when my whites get thick enough that they get caught in the balloon of my whisk and become difficult to keep beating.
Almonds
- If you can't find powdered or ground almonds at the store, buy blanched almonds and grind them to a fine powder in your food processor.
- Or, if you have raw almonds on hand, like I often do, blanch your own and then grind them: for every 1 cup of almonds you have, bring 3 cups of water to a boil in a medium saucepan and blanch them for 1-2 minutes; drain them in a colander and run cold water over them until they're cool enough to handle; give each almond a squeeze to release it from its skin; discard the skins and leave your almonds to dry on a kitchen towel.
Folding
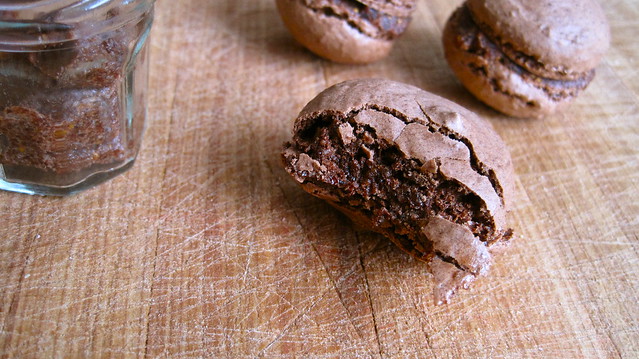
- Once your egg whites are thick and glossy, they're ready for the almonds and sugar. Carefully add them to your whites, grab a wide, flexible spatula, and fold the ingredients in gently: cut the egg whites through the centre with the side edge of your spatula and sweep the spatula beneath the whites towards the edge of the bowl, lifting the whites back towards the centre. Rotate your bowl a quarter- turn (90 degrees) and repeat until there aren't any visible streaks of egg white left. Don't be too timid with your folding, what you're looking for is something with the consistency of a paste. The macaron batter needs to hold its shape (you don't want puddles, like with my first attempt), but too airy a batter will leave your shells with little tails when you lift your piping tip away. (You can see this with some of my shells in the photos above.)
No comments:
Post a Comment